
Your search for “how to change verification number on Gmail”, and “how to change my phone number in Gmail” ends here, as we are going to learn the step-by-step guide on how to change verification number on Gmail. This is going to quick and efficient process with some additional information on verifying your Gmail account using temporary numbers. But first, let’s understand what is Gmail and its application.
Gmail is now part of our everyday lives. Corporate, commercial, and personal are some applications where Gmail has been widely popular and used to send and receive emails. As of 2019, it had 1.5 billion active users worldwide, making it the largest email service in the world. In order to access Gmail features, one has to complete the Gmail account verification and add two-step verification to add a double layer of security to your account.
How to Change Verification Number on Gmail (Step-By-Step Guide)
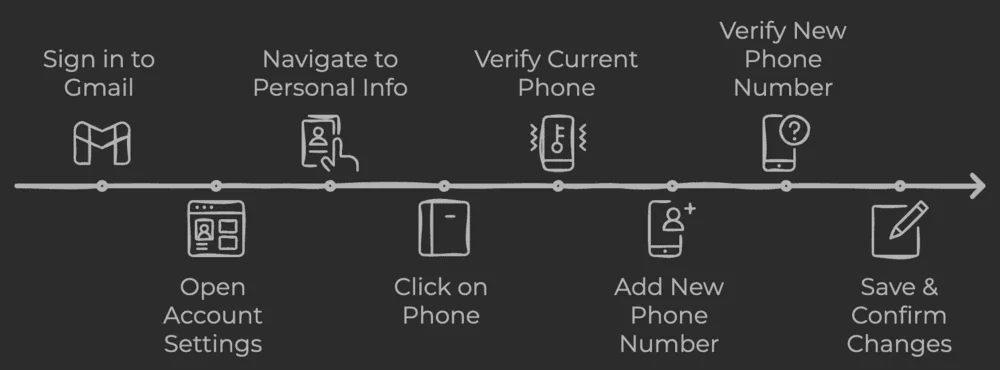
Let me help you change the verification number on Gmail. Kindly follow the below steps.
Step 1: Sign in to Your Gmail Account
Go to gmail.com and sign in with your current credentials.

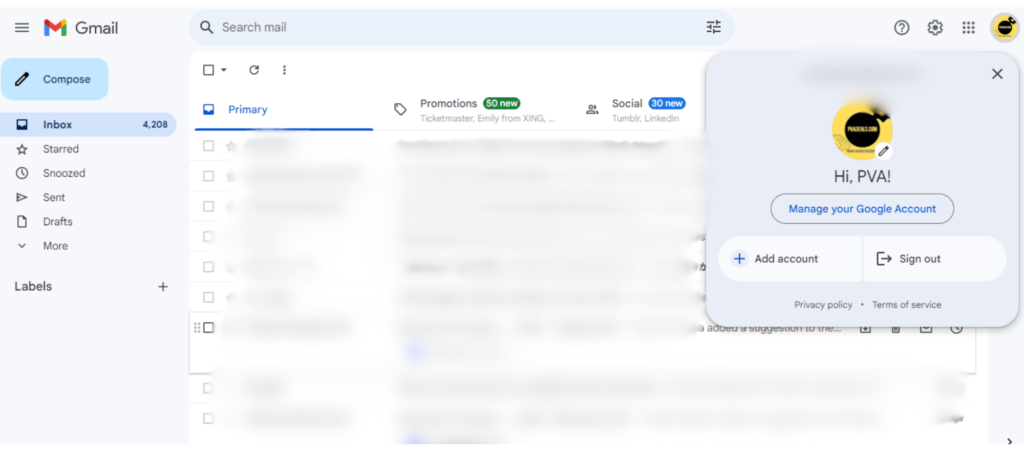
Step 2: Open Account Settings
Click on your profile picture at the top right corner, then select “Manage Your Google Account.”
Step 3: Go to Personal Info & Privacy
On the Google Account page, navigate to the “Personal info & privacy” section.
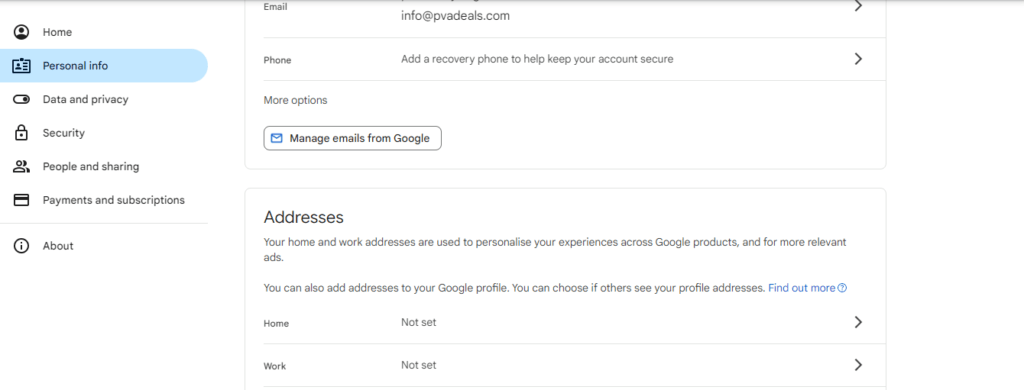
Step 4: Click on the Phone
Under the “Personal info & privacy” section, click on “Phone”.
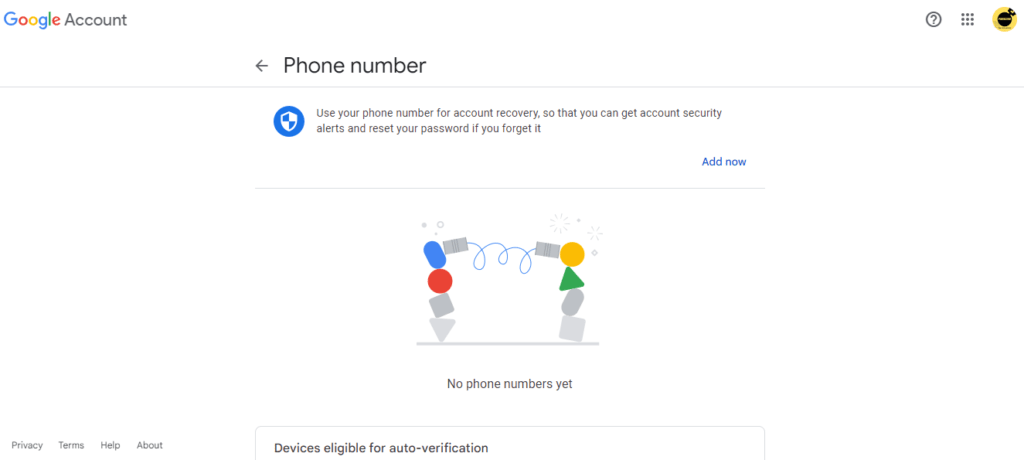
Step 5: Verify Your Current Phone Number
Gmail will ask you to verify your current active phone number by sending an SMS code. Once you receive the code, enter it.
Step 6: Add New Phone Number
After verification, click on “Add recovery phone”.
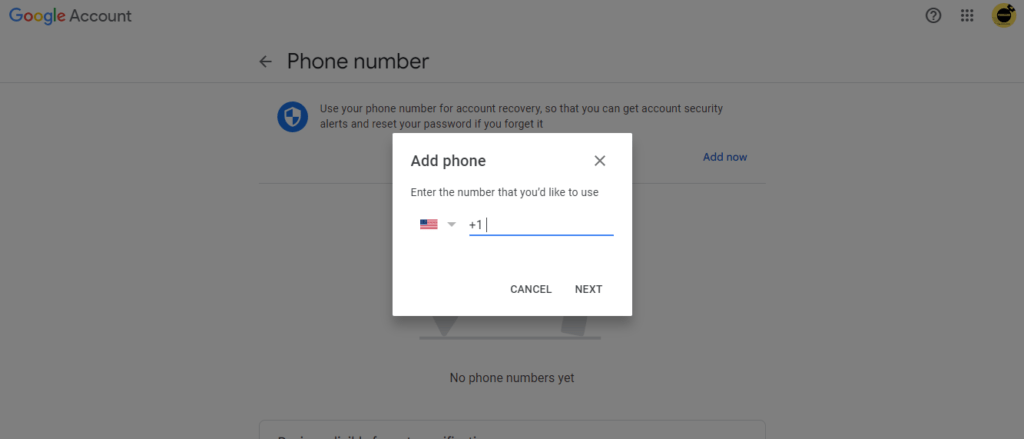
Step 7: Enter the New Phone Number and Verify it.
Enter your new phone number. Gmail will send an SMS code to your new phone number. Enter the code to verify.
Some users hesitate or prefer not to share their personal phone numbers for security and anonymity reasons. PVAdeals offers non-voip or temporary virtual phone numbers, using which you can verify your Gmail account using these temporary non-voip numbers. PVADeals temporary non-VoIP numbers are the most affordable and can verify your account within a few easy steps. In addition to this, you will unlock many other features such as – number extension, flag number, select the long-term rental plans, revert on SMS, and more.
Step 8: Save & Confirm Changes
Once verified, click on “Save” to update your phone number. Confirm that your new phone number is now listed under your account settings.
Viola! Congratulations, you have successfully added the number to your Gmail account by following the above steps. However, keeping privacy in mind it is advisable to use the necessary steps such as adding two-step verification to your account or verifying your account using temporary virtual numbers. Hoping your quest for “how to change verification number on Gmail” ends here. For any query, feel free to contact us.